Need more distance?
Start with strength training and the bar upgrade path. Better timing also affects the throw. Neither the distance gained per pull-up nor a bar-tier formula is public.
 THROW A SEED WIKI
Strength, timing and zones.
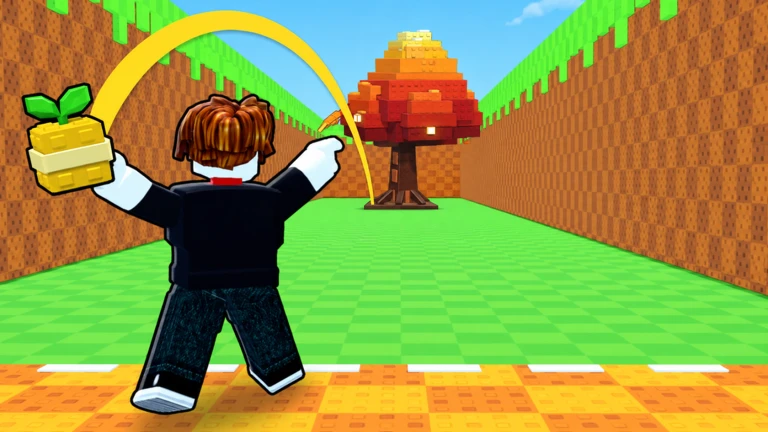
The developer says pull-ups make your character stronger and help the seed travel farther. Training is therefore the first documented way to improve reach. The description does not say how much distance each pull-up adds.
The throw starts with a tap at the right moment. A well-timed launch matters, but the public description does not publish a timing window or a measured bonus. Compare your own throws before treating a timing tip as exact.
Greater flight distance improves luck and every zone passed adds luck. The description advertises 15 zones, from Meadow toward Starlight Glade. It does not give zone boundaries or per-zone luck values. The zone and luck overview explains what is confirmed.
The developer mentions a pull-up bar that upgrades from Wood to Diamond. Better seeds improve luck. Bar costs, intermediate tiers, seed names and bonuses have not been verified.
Start with strength training and the bar upgrade path. Better timing also affects the throw. Neither the distance gained per pull-up nor a bar-tier formula is public.
Crossing zones, traveling farther and buying better seeds are the three documented luck sources. The game description does not say how they combine. The seed luck calculator can model a chance you enter, but it does not supply a game drop rate.
No guarantee is stated. The developer describes increased luck and a rare Secret outcome, but does not publish a drop table.
The game advertises 15 zones. Requirements and boundaries for individual zones need direct in-game verification, so this guide does not assign thresholds.
Start by separating the parts you can observe. Try a few launches after training and watch whether the seed reaches a different area. If distance changes only when the launch timing changes, keep practicing the tap. If you have access to a new bar tier, compare its in-game description before spending cash. This is a way to diagnose your own progress, not a claim about a hidden distance formula.
When a throw crosses a new zone, note the zone you saw and the plant that appeared at landing. One result cannot establish a drop rate. The game describes zone bonuses as luck boosts, so repeated observations are more useful than treating a single rare plant as proof of a specific percentage.
Checked 2026-11-15 against the official Roblox experience description ↗. Figures not published there are marked unverified.